
I looked - but I couldn't find a costume that would fit her anywhere!
That meant I would have to make it.
That meant I would have to sew my very first A-line dress.
I didn't want it to be reversible - so THAT meant I needed to learn how to install a zipper (video) for the first time!
I ended up using a store-bought pattern (Simplicity 2194), but I seriously don't like store-bought patterns.
Next time I make an A-line dress I'll buy the Shannon Shift Dress PDF pattern!
It looks so cute, and I love PDF patterns.
The whole sewing process looks so easy because most of them have tons of helpful, detailed step-by-step pictures that guide you from start to finish.
The whole sewing process looks so easy because most of them have tons of helpful, detailed step-by-step pictures that guide you from start to finish.
Okay, here's how I put together Serenity's Blossom's costume.
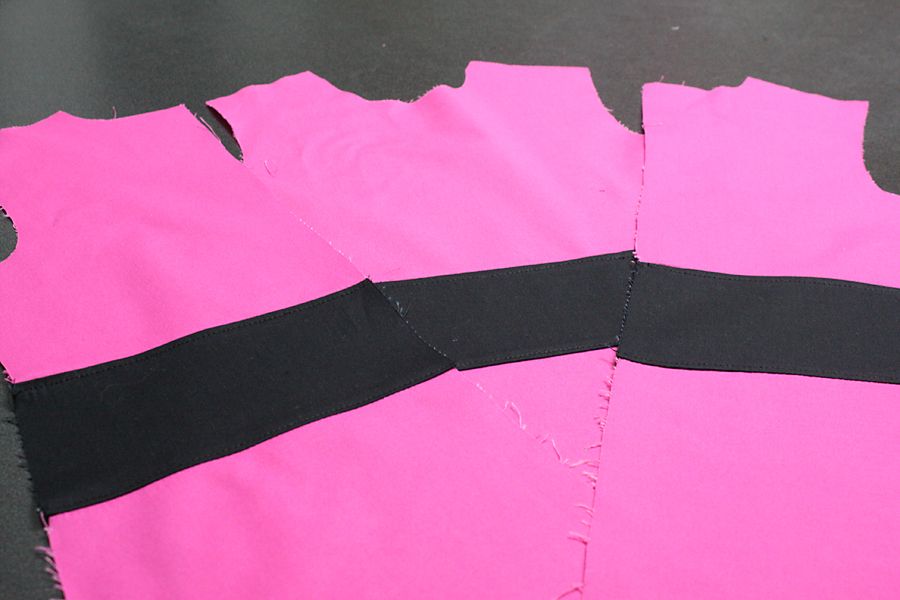
After cutting out the dress, I cut off the bodice and a "block" out the middle.
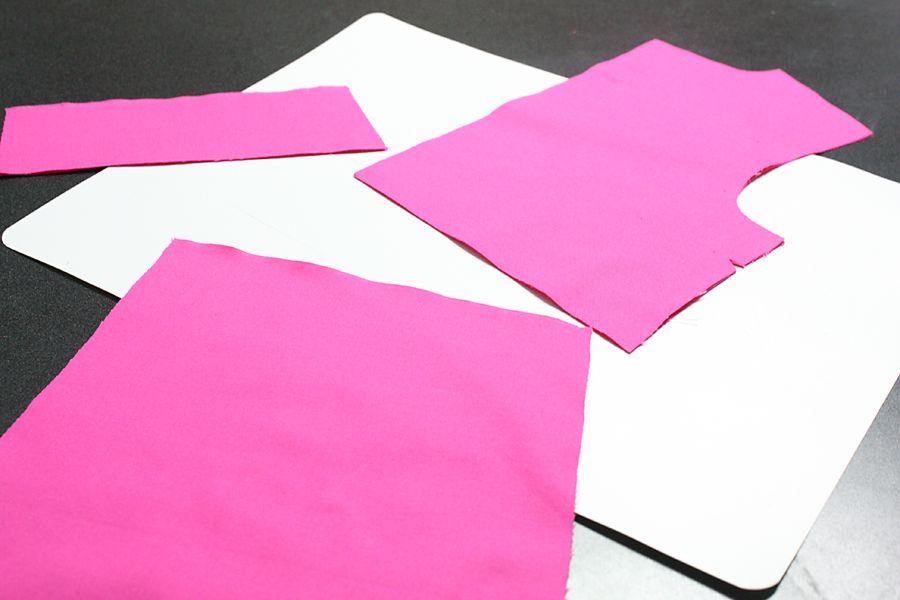
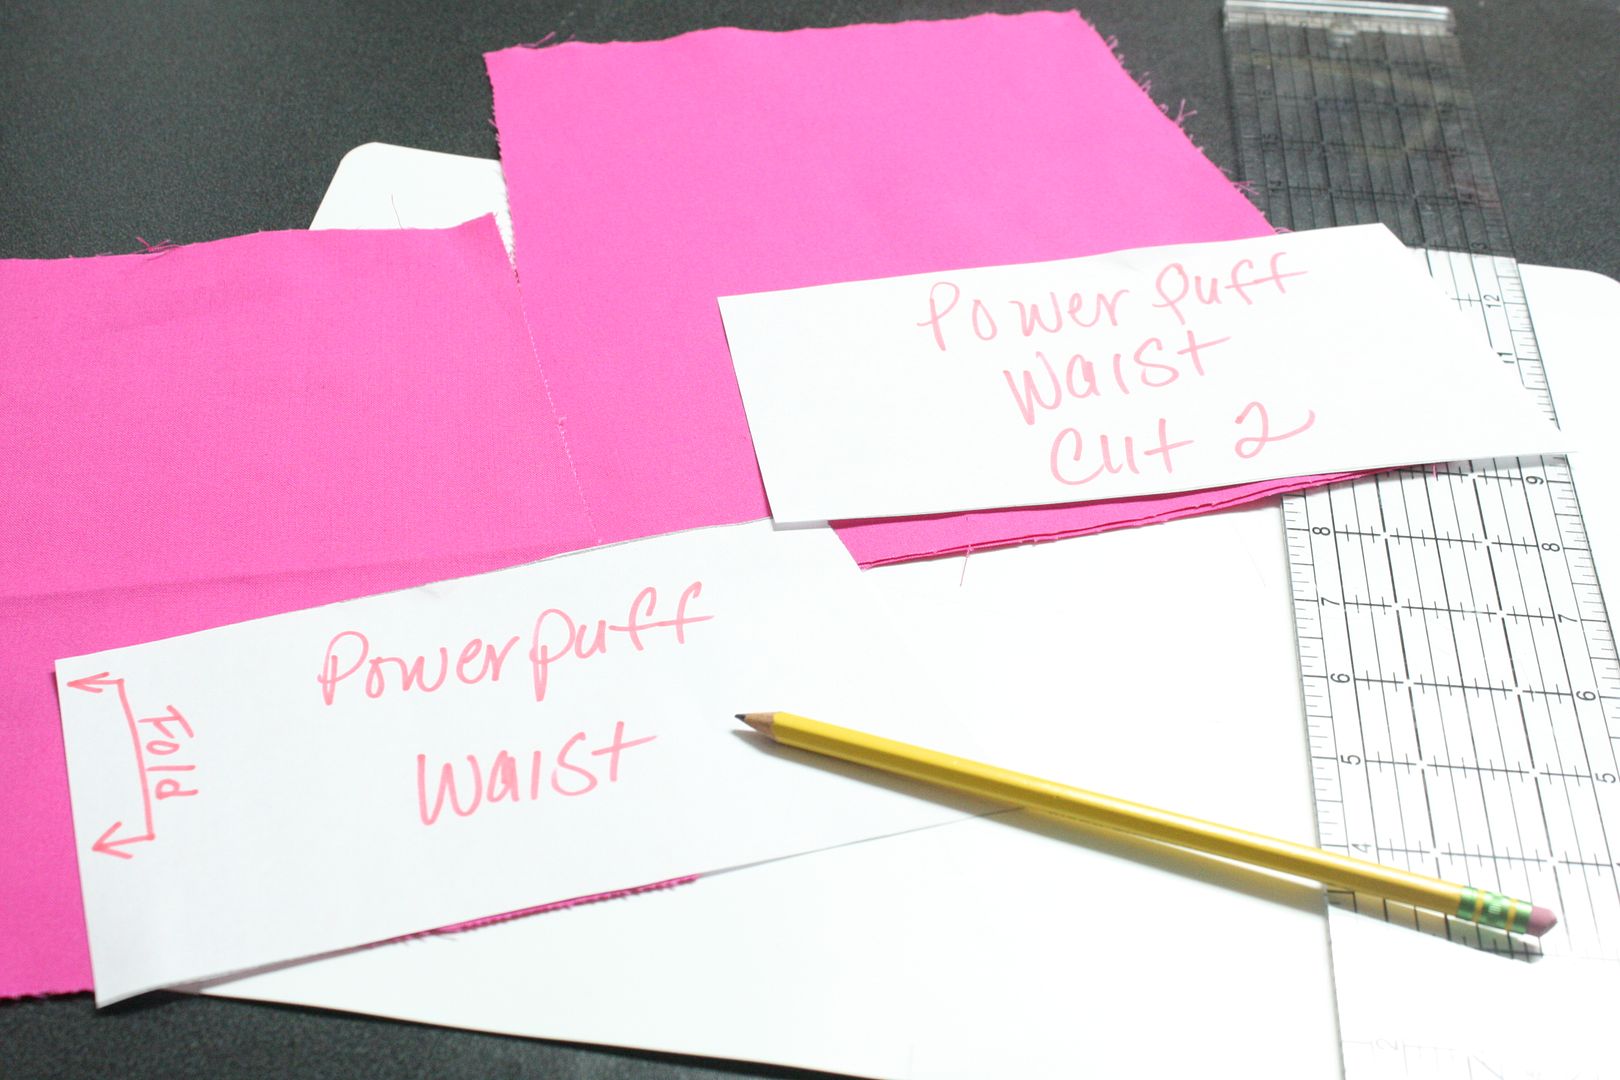
I made a couple of templates for the middle piece.
I added 1/2" at the top and bottom of the templates for the seam allowances.
Then I cut out the black pieces for the waist.
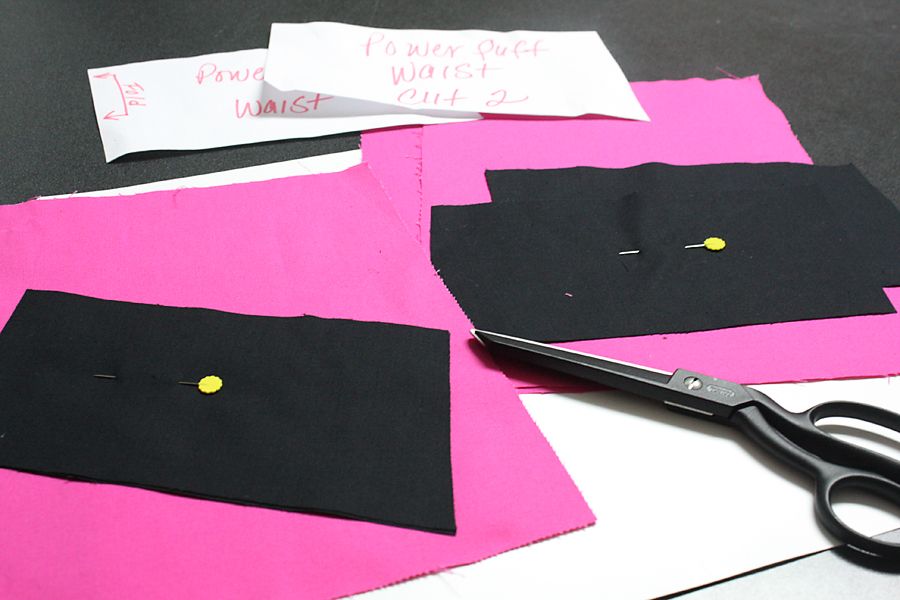
I sewed the waist pieces to the bottom of the dress pieces first.
Serged the seams, ironed the seams UP, then top stitched.

Then I sewed the bodice pieces on.
Serged the seams, ironed the seams DOWN, then top stitched.
I had the thing on - sewed up nice and pretty, but when I tried to open the seam with my seam ripper, I made a BIG mistake!
I didn't realize I'd caught the zipper instead!
I had to drop everything and run to Hobby Lobby to get a new zipper before it closed.
NOTE TO ME: Always be careful ripping the zipper seam!!!
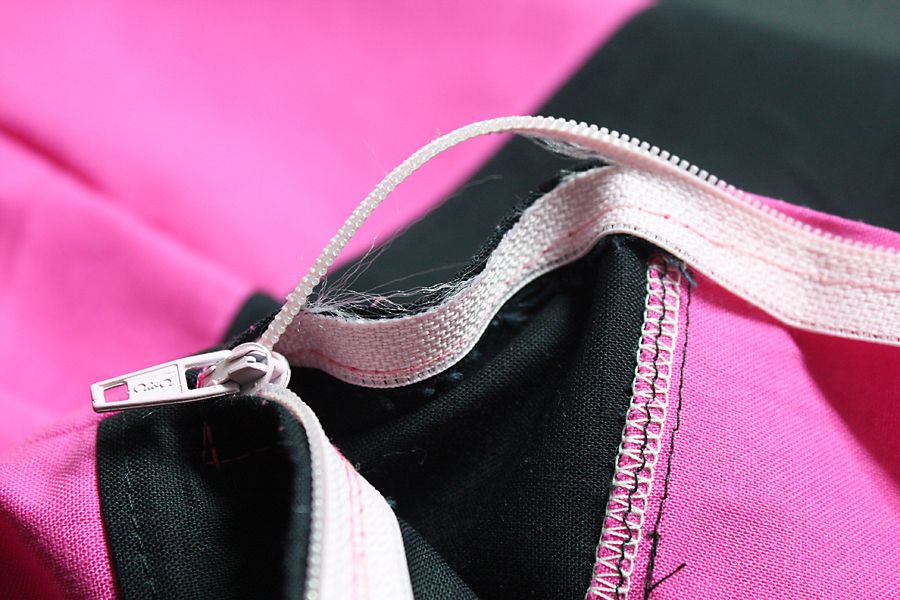
Because I'd messed up, installing the second zipper was a little difficult - and very time consuming.
But I got it!
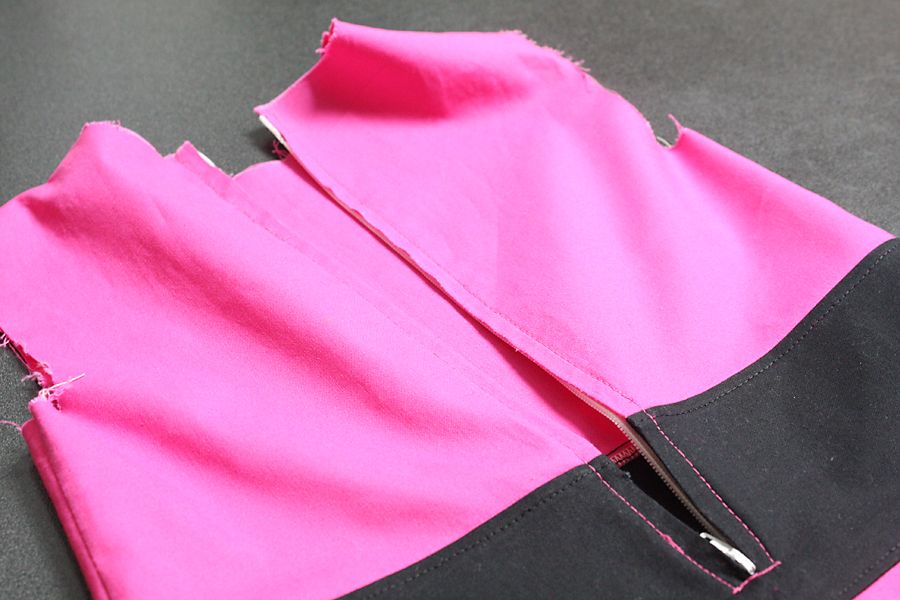
For the final steps, I sewed the facing around the neckline of the dress and used bias tape facing for the sleeves.
I didn't like sewing that big piece of facing around the neckline - it really wasn't required for this simple costume, but I was following the pattern and didn't even think about it until it was done and I got to the following step - bias tape facing for the sleeves.
Oh well - next time I'll know!
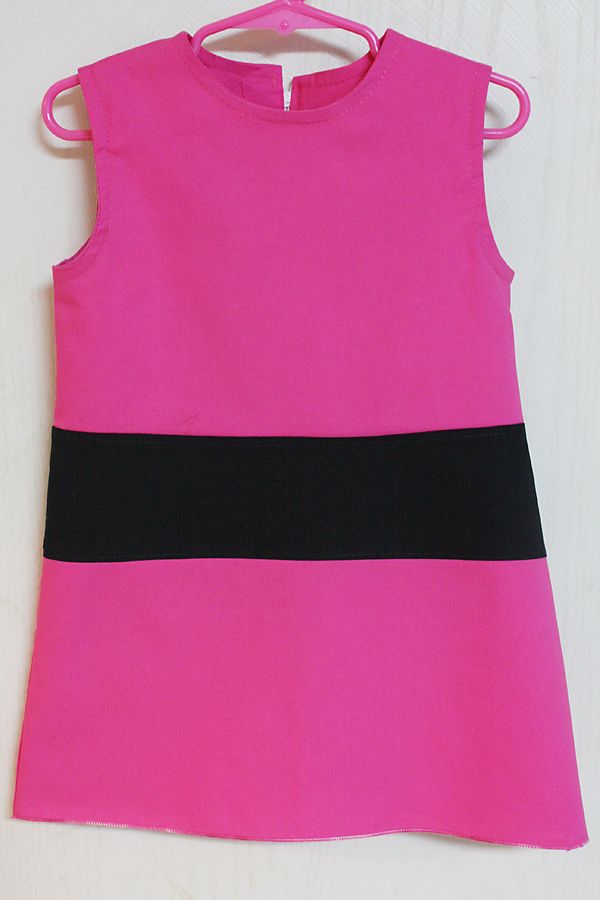
I rolled hemmed the bottom with my serger.
Do you see how my zipper is a slightly off?
Not really sure what I did wrong, but I'm just glad I got the thing working!
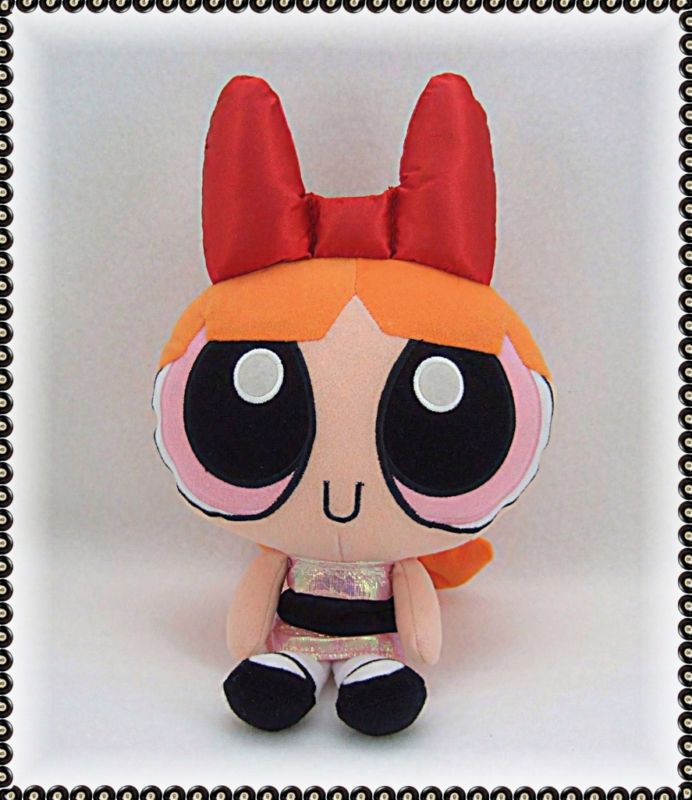
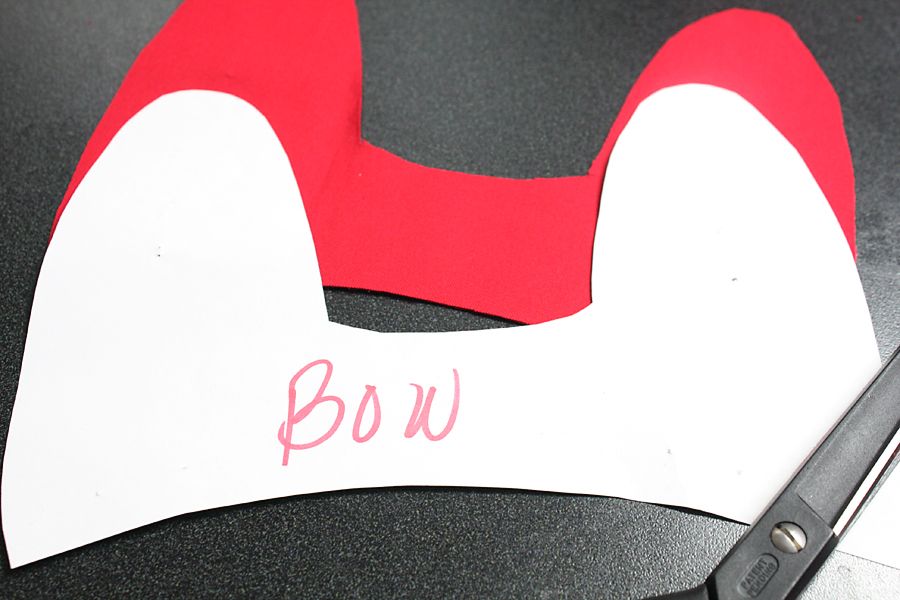
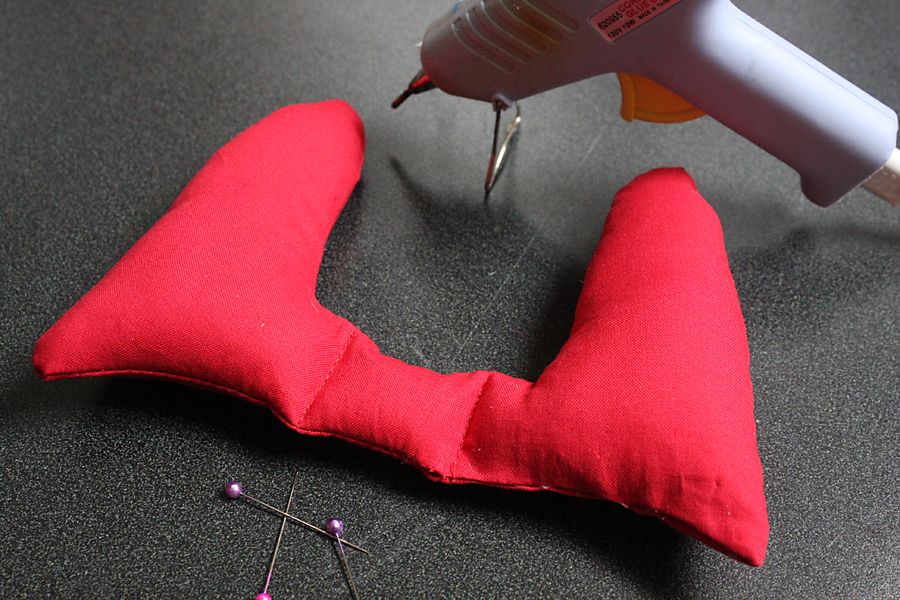
Okay now for Blossom's ridiculously big red bow!
I zoomed in on this picture:
Then used my monitor as a lightbox to trace around the bow and created a template.
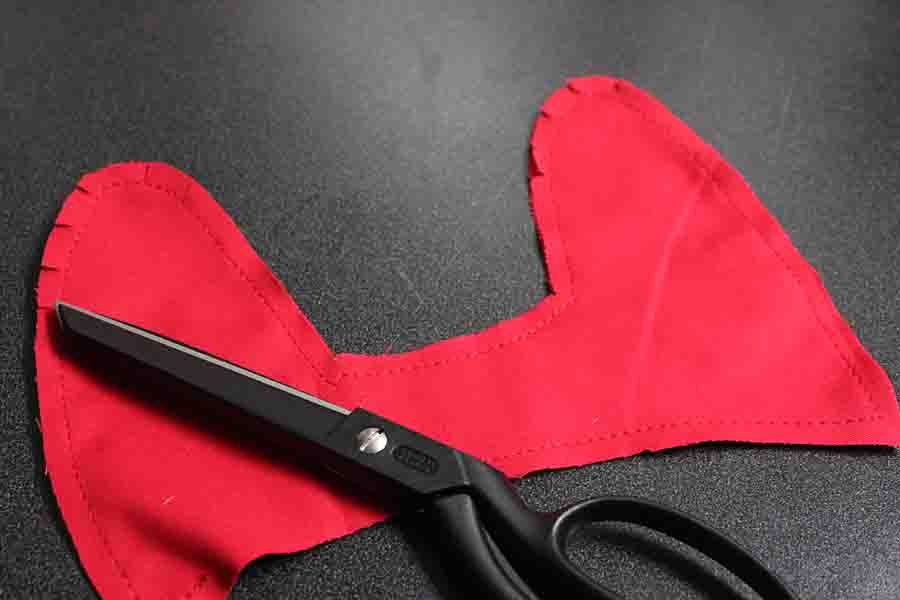
I used red broadcloth for the bow.
Actually, I used broadcloth for the entire costume, since it was 30% off at Hobby Lobby this week.
I sewed 1/4" around the edge, and clipped all the corners before turning it inside out.
Next I stuffed it with some polyfill.
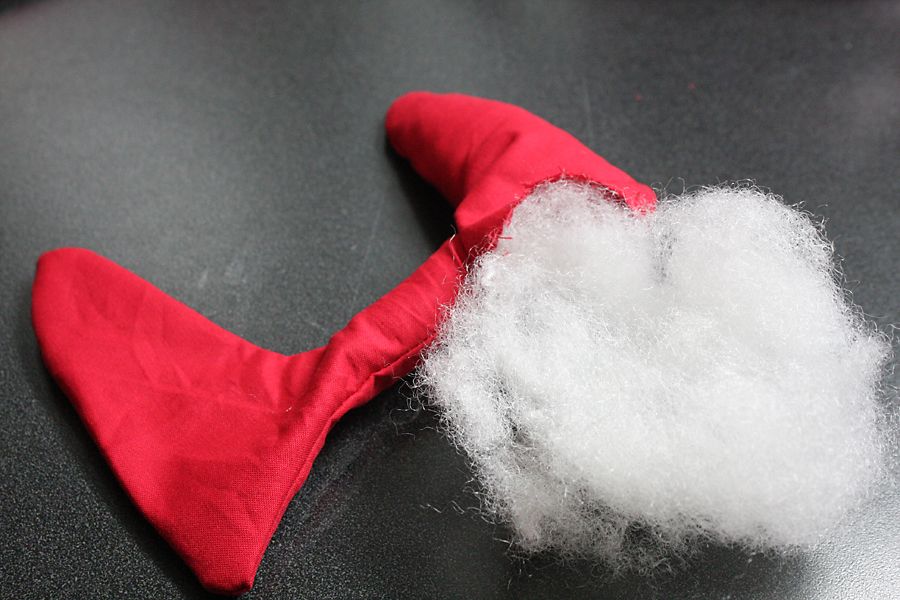
Finally, I used to my glue gun to close the opening, and triple stitched in the middle to create the "knot" in the bow.
I'll probably hot glue the bow to Serenity's orange wig.
I found some white tights on Amazon.
And Serenity will be wearing her little black Mary Janes!
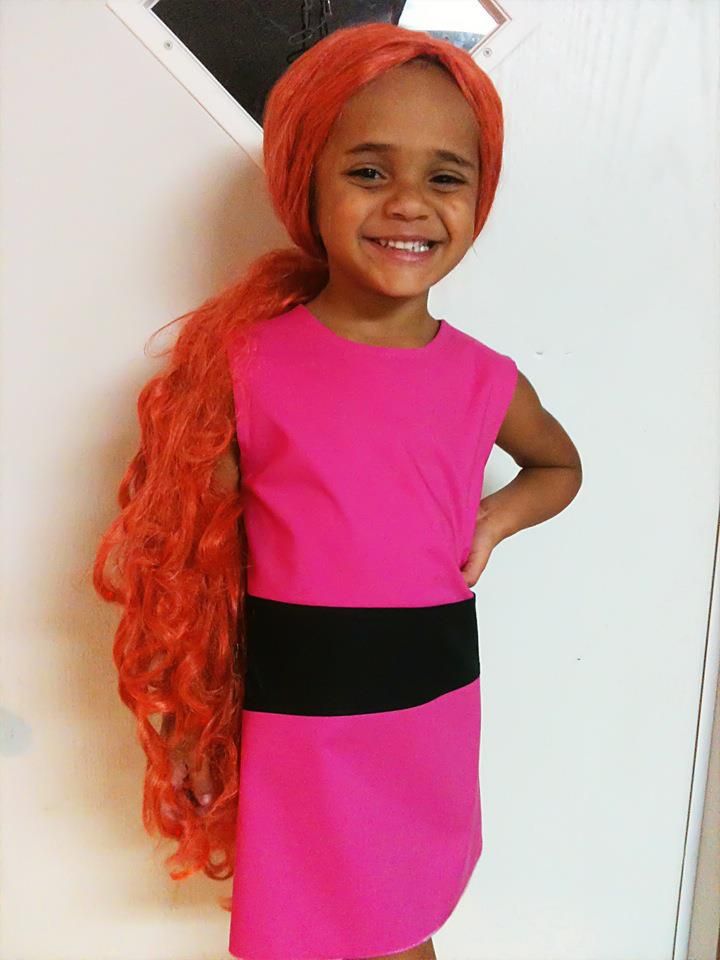
It was very late by time I finished, so I couldn't get any good outdoor pictures, but here's one I took with my cell.
I plan to get more pictures will my Canon tomorrow.
Serenity is so HAPPY that I made her Blossom costume!
She was doing some practice high kicks and punches - pretending to get the bad guys!
She said, "Mommy I'm going to SAVE THE WORLD!"
That's my baby!!
Happy Halloween!!
UPDATE: You can see pictures of Serenity in her entire costume HERE.
Have Fun!!
UPDATE: You can see pictures of Serenity in her entire costume HERE.
Have Fun!!


2 comments:
Just a quick note to let you know that a link to this post will be placed on CraftCrave today [31 Oct 02:00am GMT]. Thanks, Maria
OMG LOVE THIS!!! You did fabulous! Added a zipper and everything! Love love love! great job mama!
Post a Comment